How do I access Knox with Windows 7?
The most common way to access Knox using Windows 7 is by creating and using a Network Location (mapping a network drive).
To create a Network Location:
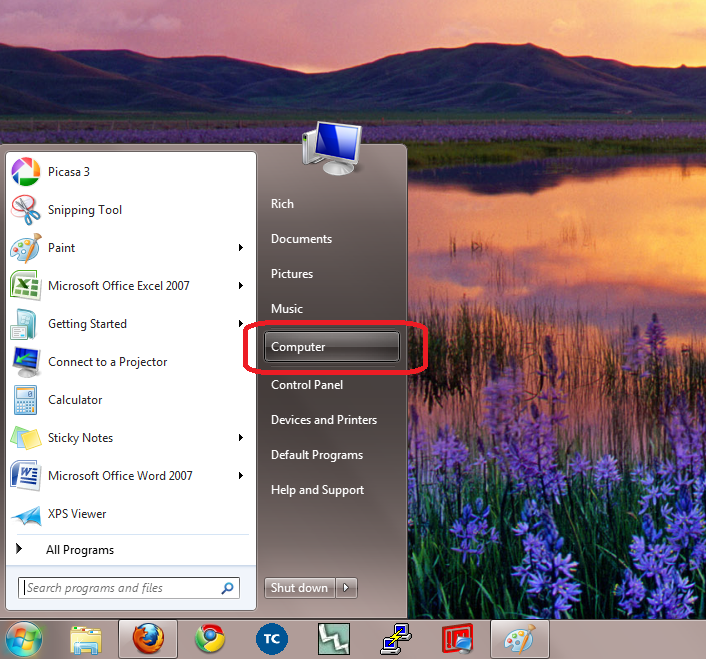
- Click the Computer link located in the Start menu (figure 1), or the icon on your desktop.
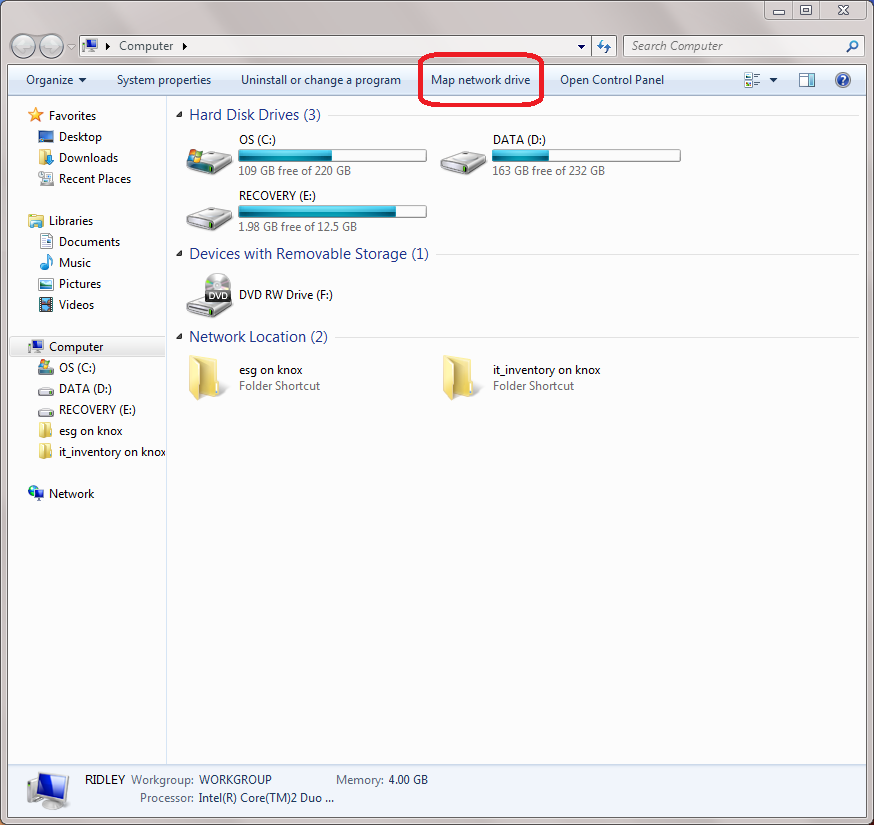
- Click Map Network Drive (figure 2).
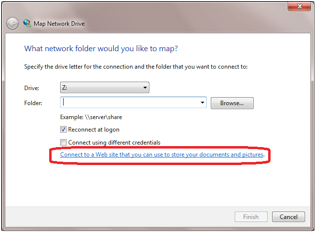
- Click the Connect to a Web site that you can use… link (figure 3).
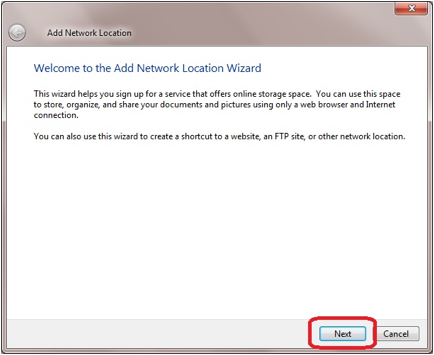
The Add a Network Location Wizard opens (figure 4). - Click Next.
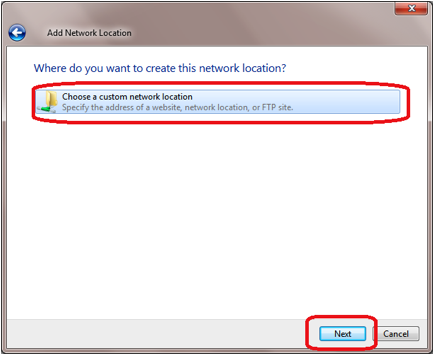
- Highlight the Choose another network location (figure 5), then click Next.
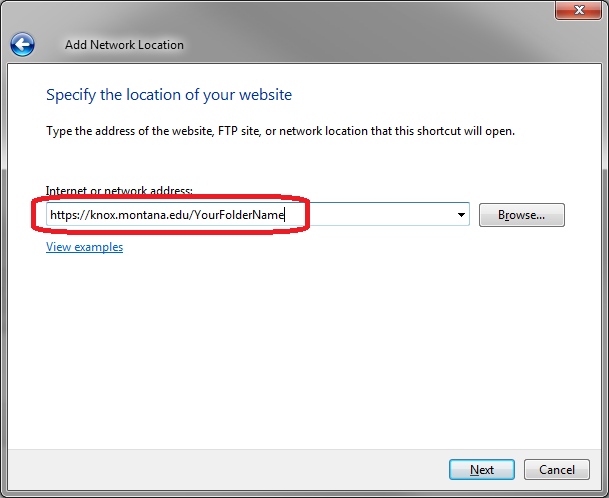
- Enter the address for your knox folder (figure 6):
https://knox.montana.edu/YourFolderName), then click Next.
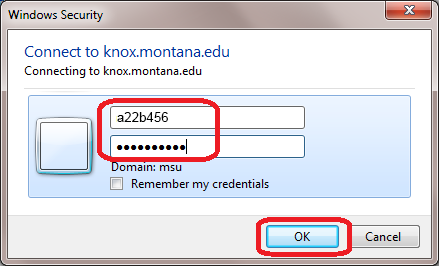
The Connect to knox.montana.edu login window opens. - Enter your MSU NetID and password (figure 7).
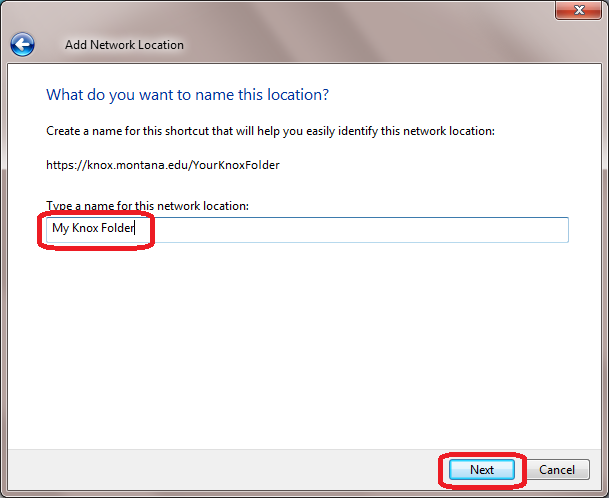
(example: a22b456). - Enter a name for the network location ( figure 8), then click Next.
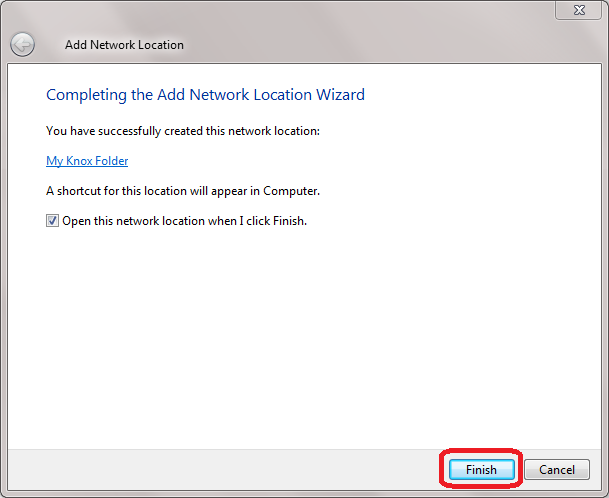
- Click Finish to exit the wizard (figure 9).
Click image to view larger version.

